Hey everyone, if you’re running a plastic extrusion operation, you know the drill: a smooth-running extruder means consistent product quality, less downtime, and way fewer headaches when you’re filling orders. But let’s be real—cleaning that big machine is the part most people either put off (bad move) or mess up (also bad move). I’ve been supplying plastic extruders and supporting crews like yours for over a decade now, and I’ve seen every cleaning trick in the book—from genius hacks to straight-up mistakes that cost companies thousands in scrap and repairs. Today, I’m breaking down exactly how to clean your plastic extruder properly, no fancy jargon, just stuff that actually works. Plastic Extruder

First, let’s get one thing straight: skipping regular cleanings doesn’t save time, it makes more work. If you let old resin, additives, or even small bits of debris build up in the barrel, screw, or die, you’ll get inconsistent melts, streaks in your final product, and even pressure spikes that can damage the machine over time. I’ve had customers tell me they “don’t have time” to clean after every run, then end up with a die that’s so clogged they have to replace it—costing way more than a 30-minute cleaning session. So let’s start with the basics: knowing when and how often to clean.
First, the two main types of cleanings you’ll need: a quick, routine clean between runs of the same resin, and a deep, full clean when you’re switching resin types, colors, or if you’ve been running a sticky additive-heavy material (like PVC or some engineering plastics) that leaves residue. Routine cleans should happen every time you wrap up a production run for a specific resin—even if it’s just a 2-hour run. Full deep cleans? I recommend doing those every 200–300 hours of run time, or whenever you’re switching from, say, a clear PET to a black ABS, because residual clear resin will show up as cloudy streaks in the new black part.
Now, let’s walk through the step-by-step process—this is the exact routine my own service techs teach all the customers who buy their extruders from me, and it’s stood the test of time.
First step: Prep before you even power down the machine. I see so many people jump to shutting everything off and then scrambling for supplies, which wastes time and can even be dangerous. Grab your tools first: you’ll need a set of hex wrenches (both metric and standard, depending on your machine), a soft brass brush (never steel—steel will scratch the barrel, which leads to more buildup later), a plastic scraper (again, no metal, that scratches), a bucket of warm soapy water (mild dish soap works, no harsh chemicals), some lint-free rags, and if you’re doing a deep clean, a small amount of a purging compound (super important stuff—ask me about it if you need recs, I can point you to the good ones that don’t leave residue). Also, make sure the machine is cooled down enough to work on—usually around 120–150°F (that’s cool to the touch, not scalding hot). Safety first: unplug the machine or lock out the power, just in case someone hits the start button by accident while you’re working. No one wants a trip to the ER over a cleaning job.
Second step: Run a purge (for deep cleans, and even quick ones if you’re switching colors). Purge compounds are designed to strip old resin out of the barrel without damaging the metal, way better than just running the new resin alone. Here’s how to do it: crank up the barrel temp to the recommended setting for your purge compound (usually a bit higher than your production temp, about 10–20°F warmer) and feed the purge compound into the hopper at the same rate you’d feed production resin. Run the screw at a low speed (like 20–30 RPM) until the material coming out of the die is mostly clear of old resin—this usually takes 5–10 minutes for a routine clean, 15–20 for a deep clean. Once that’s done, you can shut off the heater, let the barrel cool down a little, then push any remaining purge and old resin out by hand (or with the screw, on manual mode) while it’s still pliable. Don’t let it cool solid in the barrel—getting hard resin out is a nightmare.
Third step: Disassemble the parts that matter most. The screw, barrel liner, die, and screen changer are the big four—skip these and you’ll still have buildup. Start with the screen changer: that’s the part with the metal screens that filters out debris. Pop it open, dump the old screens, and either toss them if they’re super gunked up (they’re cheap, don’t waste time trying to clean a screen that’s already half-clogged) or if they’re just a little dirty, soak them in warm soapy water for an hour then scrub gently with a brush. Next, the die: this is where your final product comes out, so any residue here will show up directly on your parts. Take the die apart (follow the machine manual, every model is a little different) and use your soft brass brush and plastic scraper to get into all the nooks and crannies. Never use metal tools here—even a small scratch on the die face will leave a mark on every single part you extrude after that. For stubborn residue on the die, a little isopropyl alcohol on a rag works great, just make sure it’s completely dry before you put it back together so it doesn’t contaminate your next run.
Fourth step: Clean the barrel and screw. This is the core of the whole machine, so take your time here. The barrel liner is inside the main body of the extruder—if you already ran the purge, most of the big stuff is gone, but you might see small spots of residue. Wipe the inside of the barrel with a warm, soapy rag, or if there’s really tough buildup, you can use a small amount of baking soda mixed with water (gentle abrasive, won’t scratch) to scrub it. For the screw: this is trickier because it’s long and twists, so you can’t just pull it out and wipe it down easily. Once the screw is out (follow the manual—most extruders let you pull the screw out from the back once you unbolt the rear housing), lay it on a sturdy workbench. Use your brass brush to scrub along the flights (the twisted grooves) where resin loves to hide, and use the plastic scraper to dig out any hard chunks that got stuck. If the screw has a lot of old residue, you can soak it in warm soapy water for a couple hours first—just don’t soak any metal parts with bearings or seals submerged, that can damage them. A quick tip I tell all my customers: if you notice buildup on the screw after a run, make a point to get it out right away instead of letting it sit. Old resin gets more brittle over time, so it’s way harder to scrape off a week later than it is right after a run.
Fifth step: Wipe down the rest of the machine. I see people ignore the outer parts all the time, but a little maintenance here goes a long way. Use a dry rag to wipe down the outside of the extruder, the hopper, the control panel (don’t get it too wet, electronics don’t like water), and the feed throat where resin goes in. If there’s a lot of dust or resin dust, a vacuum with a soft brush attachment works great to get it out of hard to reach spots. Also, give the motor and drive gears a quick wipe—dust buildup here can make the machine run hotter, which is bad for resin quality and for the machine itself.
Sixth step: Reassemble and test. This is where a lot of mistakes happen—don’t just bolt everything back together and fire it up. First, make sure all parts are completely dry, especially the screw and barrel. Any leftover water will turn to steam when you turn on the heat, which can cause resin to bubble and create weak parts. Next, put everything back together: screen changer, die, screw, barrel housing. Double-check that all bolts are tightened evenly—if you over-tighten one and not another, you’ll get leaks at the barrel seams. Once it’s all put back, do a small test run with your next production resin at low speed for 5 minutes. Check that the melt is consistent, no streaks, no pressure spikes. If everything looks good, you’re ready to go.
Now, a few common mistakes I see all the time that will mess up your cleaning job (and your parts). First, using harsh chemicals. I’ve had customers use strong degreasers or even gasoline to clean their extruders—this is a terrible idea. Not only is it a fire hazard, but leftover chemical residue will contaminate your plastic, making it weak or causing it to off-gas during production. Stick to mild soap, isopropyl alcohol, and baking soda—those are all safe and effective. Second, not cleaning the screen changer. A clogged screen will cause back pressure that can damage the screw and barrel over time, so replacing screens every 1–2 runs (or sooner if you’re running resin with a lot of fillers) is non-negotiable. Third, rushing the purge step. If you feed too little purge compound, or run it at too low a speed, you’ll leave residual old resin that will mess up your next run. I always say: if the material coming out of the die looks the same as your old resin, keep running purge until it starts to look like your new resin, even if it takes a few extra minutes. It’s way better than scrapping a whole batch of bad parts.
Now, as someone who supplies plastic extruders to shops large and small across the country, I’ll be real with you: a clean extruder isn’t just about making parts look good. It’s about saving you money on repairs, reducing scrap rates, and extending the life of your machine. I’ve seen customers who skimp on cleaning have to replace their extruder screw and barrel 2–3 years early, which costs tens of thousands of dollars—money that could’ve been spent on new orders or expanding your business. The 30 minutes you spend cleaning after a run is a tiny investment compared to that.
If you’re in the market for a new extruder, or if you have questions about purging compounds, maintenance schedules, or anything else related to keeping your machine running smoothly, I’m here to help. We work with all kinds of extrusion operations, from small custom shops to large manufacturing facilities, and we can help you find the right extruder for your needs, plus give you ongoing support and cleaning tips tailored to your specific setup. Just reach out and we can chat—no sales pitch, just real advice from someone who’s been in this industry for years.
At the end of the day, cleaning your plastic extruder doesn’t have to be a dreaded chore. Stick to this routine, avoid the common mistakes, and you’ll have a machine that runs consistently, produces high-quality parts, and lasts for years. Don’t wait until your machine is clogged to start cleaning—make it part of your regular workflow, and you’ll thank yourself every time you pull a perfect batch of parts.
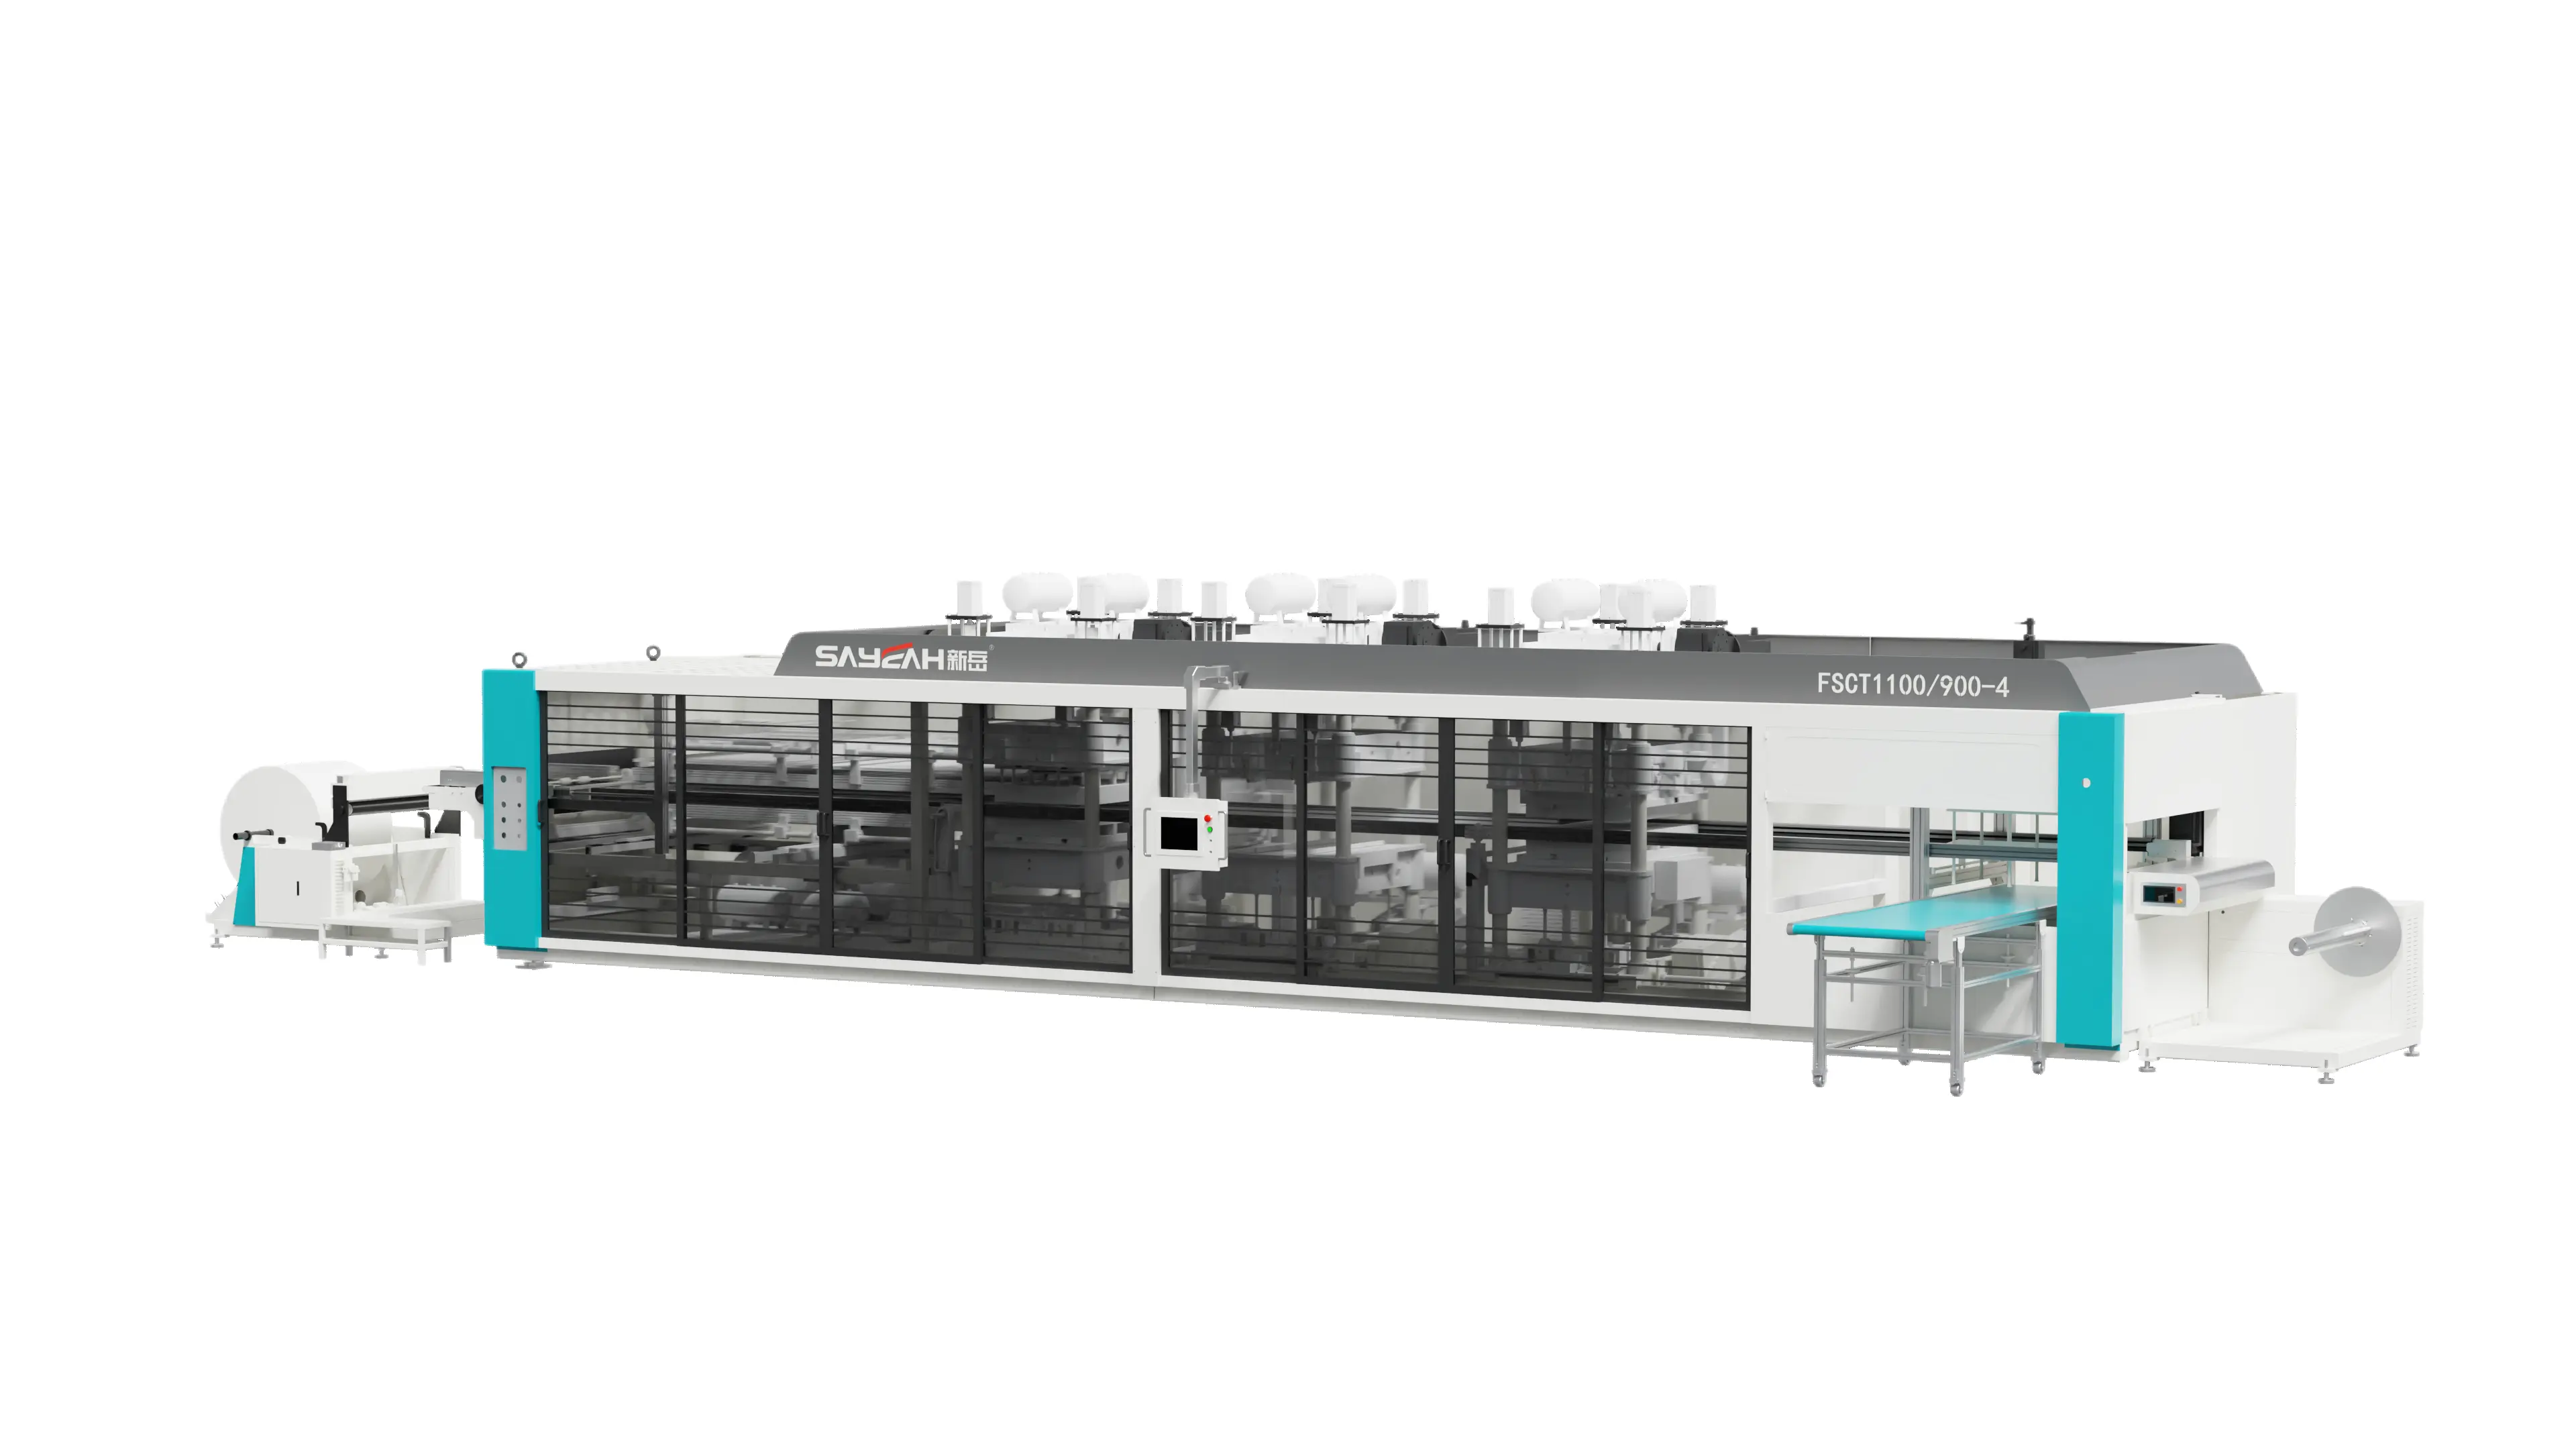
Three Station Thermoforming Machine References
- American Society of Mechanical Engineers. (2021). Guidelines for Plastic Extrusion Machinery Maintenance and Cleaning. ASME B210.1-2021.
- Plastic Processing Industry Association. (2022). Best Practices for Extruder Cleaning and Residue Removal. PPI Technical Report Series.
- Davis, J. R. (Ed.). (2020). Plastic Extrusion: Processes, Materials, and Equipment (2nd ed.). ASM International.References
American Society of Mechanical Engineers. (2021). Guidelines for Plastic Extrusion Machinery Maintenance and Cleaning. ASME B210.1-2021.
Plastic Processing Industry Association. (2022). Best Practices for Extruder Cleaning and Residue Removal. PPI Technical Report Series.
Davis, J. R. (Ed.). (2020). Plastic Extrusion: Processes, Materials, and Equipment (2nd ed.). ASM International.
Zhejiang Sayeah Machinery Co., Ltd.
Zhejiang Sayeah Machinery Co., Ltd. is one of the most reliable manufacturers and suppliers of plastic extruder in China, also supports high quality customized service. Please feel free to buy CE approved plastic extruder from our factory. For price consultation, contact us.
Address: Wanquan District Industrial Zone,West Of China National Highway 104, Sunlou Village, Wanquan Town, Pingyang County, Zhejiang Province. China
E-mail: sales@sayeahmachinery.com
WebSite: https://www.sayeahthermoforming.com/
